Tips for bike in Atlas
|
BIKE ATLAS RIDING TIPS: LIFT ACCESS MTB
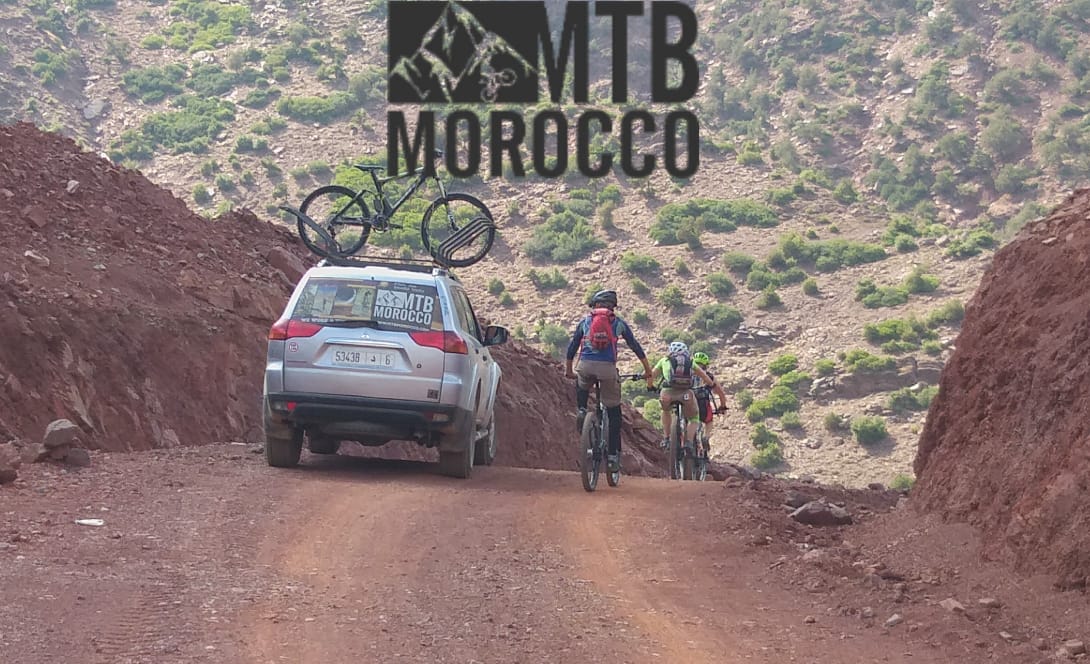
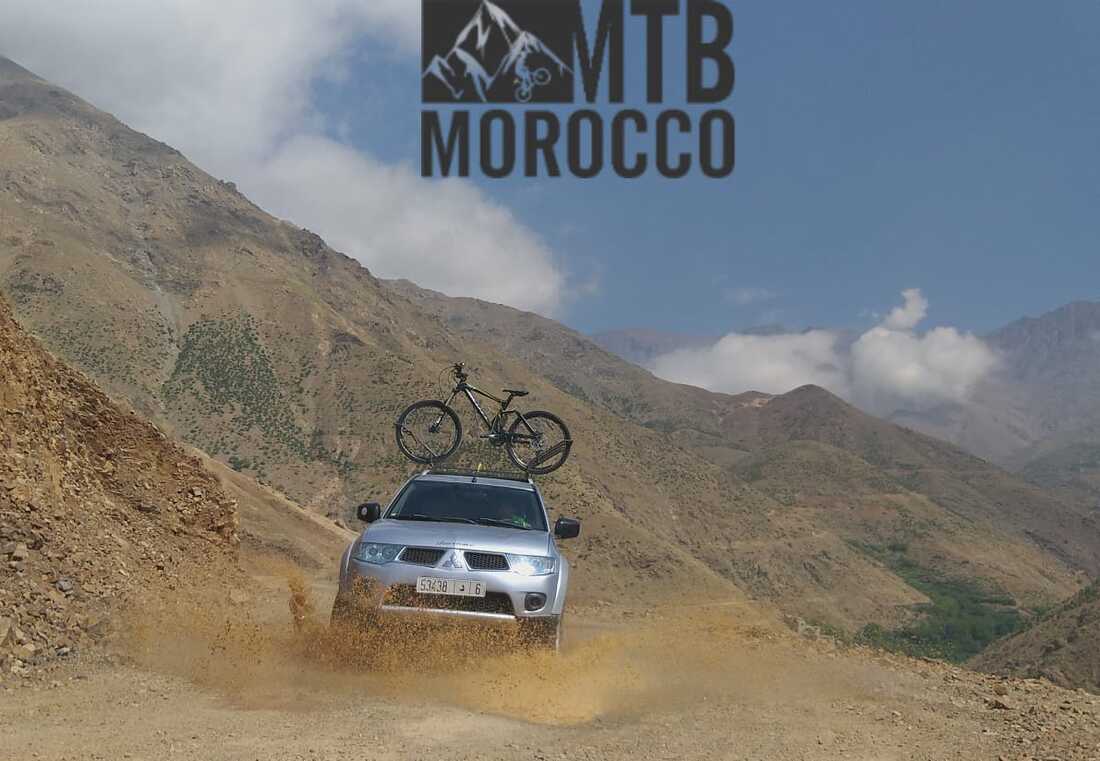
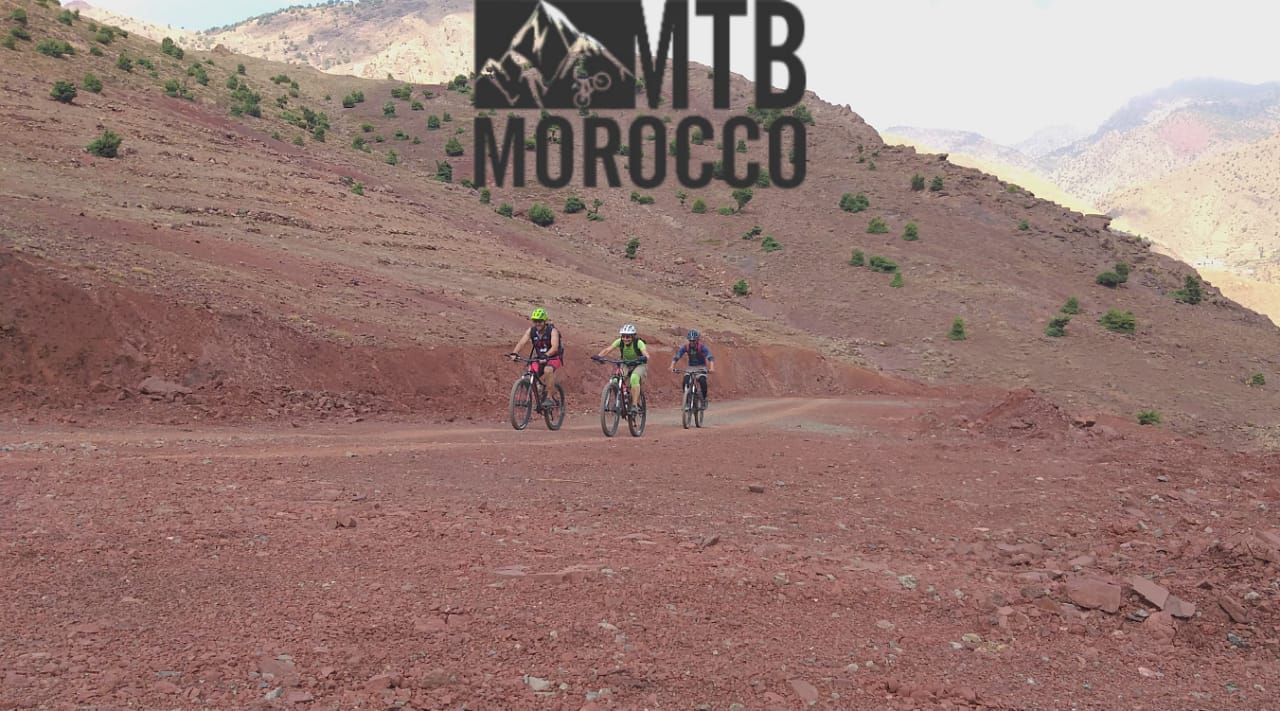
Think that riding bike ATLAS is just for the crazy, types? Think again! Bike Atlas is a fun way to experience a different style of mountain biking, and every Trail is going to have a cornucopia of terrain that suits beginners and advanced riders alike. You get to enjoy a shuttle or lift to the top of the mountain, and then cruise your way to the bottom of the tracks of your choice. Each mountain will vary in its feel and culture, but following these tips will get you started with your best pedal forward. Get Prepped Make sure you bring the right gear with you to the mountain! It’s ideal to ride a bike with a longer wheelbase and more suspension travel, like Liv’s all-new, all-mountain Intrigue series and the enduro-ready Hail series, especially if you have dreams of riding steeper, more technical tracks. Perform a bike safety check and dial in your suspension to make sure your bike is ready to ride. If you don’t have a bike you feel comfortable riding, the MTB Morocco probably has a rental fleet. Personal protective equipment should include a helmet (full-face preferred to bring yours), pads (knees and elbows bring yours), eye protection (goggles or glasses), and gloves. If you don’t have a full-face helmet or pads, chances are the mountain has some equipment available for rent. Finally, it’s a great idea to wear clothing that has more coverage, such as ¾ length or long sleeve jerseys, baggy shorts, and socks with a higher cuff. List:
If you’re feeling intimidated, you can always book a guide or coaching session to help you become more familiar with the mountain’s terrain. Check out our Mountain Bike Skills Guides to review the basic and more advanced skills that will help you feel more confident in the Atlas range. Start Riding When you arrive at the mountain, sign your waiver, get a lift pass, and snag a trail map. There will be signage at the top and bottom of the lift, but it’s a good idea to carry a small map around with you. Note the location of the trails you want to ride, the easiest way down, the trail signage, and the mountain’s emergency numbers. Technical Terrain vs. Flow/Freeride Terrain: Technical terrain mostly utilizes the mountain’s natural rocks, roots, logs, etc. and may have some constructed features. Flow/Freeride terrain mostly consists of constructed features using natural terrain, including jumps, drops, step-ups, ride-on features, gaps, etc. Both technical and flow/freeride terrain will vary in steepness and difficulty. PRO TIP: Drop your water bottle at the bottom of the lift for easy sips between runs! And don’t forget to take lift selfies. Before you head down the mountain, make a plan with your riding partners and start small: warm up on easier tracks to get a feel for your bike and the mountain’s terrain. You have all day to work up to more challenging runs. Still not sure where to start? Ask the guide for suggestions based on your experience – they won’t lead you astray! PRO TIP: Ride the same track several times in a row; it will help boost your confidence and get rid of the first-time-bike-park jitters! When you spot technical features, stop and take a peek to consider whether or not you want to hit it or to find your preferred best line. Always ride within your comfort and readiness levels! The downhill rider gets the right-of-way, so don’t feel pressured to ride faster or harder than you want to. |


